Wednesday, July 9, 2014

Climbing on Netflix — 180º South

180º South is a great documentary that is available on Netflix. It follows one man's dirtbag climbing/ adventure lifestyle as he heads to Patagonia to climb.

If you are like me, you have done internet searches for feature rock climbing films. What you mostly find though is alpine movies about deaths in the Himalayas. In searching I found 180º South and have watched it multiple times.

This film takes you on a journey that you might not have expected as social vs industrial issues arise about the consumer society that the world has become. This film reminds us that we can't just continue to take from the land and not give anything back. As climbers we understand the beauty of the outdoors and that it must be protected so that people to come can have the same experience that we had.

Well, if you are looking for a film to watch check out 180º South available on Netflix.


Friday, July 4, 2014

7-4 Friday Knot for Thought — The Barrel Knot

This week I decided to do the Barrel Knot. This knot is important to know so that you can keep yourself safe when rappelling off multi pitch routes where you'll be maxing out the rope to get to anchors. Also this knot is good to throw on at the end of a rope when belaying someone.

I am really excited for this week though because it is the first week that I have been able to make a video demonstration for the knot. Let me know what you think about the video. I am also looking to show the knots in use in later videos. Enjoy.

Thursday, July 3, 2014

Update and Climbing at the American River

Hello everyone. It feels like I was gone for a long time. I was just on a trip to the American River near Sacramento for the last couple of days so there was no post Monday, Tuesday or Wednesday.

Anyways I got to climb some fun stuff and went white water rafting. All the climbs were top roped which was fine with me since the area where we climbed was a huge ledge with quite a distance to the river. So we kept things safe.

The area was called Billy Goat and offered a bunch of simple fun routes. I think the hardest was a 5.10b, 6A.

The first climb I did was up the side of a large flake of the rock 6 meters to a finger crack that went three meters to the top. This route was called ant hill and was 5.7, 4, I think. Easy, Fast and fun.

Next I climbed the route called Chimney. Which you could chimney up or climb the face which was slightly more challenging. I would grade it 5.8, 5A. There were really nice hand holds at the start that led to a slightly right angled crack. Once you were up the crack, then you had to get on top of a thick small flake. The flake was like the head of a hammer and I had to reach to get a sketchy hand jam and toe jam to get on top. Which was the definite crux of the problem.

The next two climbs were my favorite of the time there. They were both challenging and I'll save the best for last.

The first climb had three different ways that you could start the climb. Two of the ways made it 5.9+, 5B/C. The first way I started it was hugging a small section of the rock to get to a perched boulder. Once on top of the boulder you can make a lunge move to a knob on the face around the corner. This was an easier way but there was my way which was straight up.

Going straight up was definitely worth it. There was friction for feet to get the undercling after stemming the corner. When you got to the edge there was the possibility for a small toe jam and fist jam to get past the crux section. Then it was a smooth walk up to the anchor in a sense.

The other way to do this same climb was to follow the face on the arete which had a small selection of spread out small, sloped knobs for hands and feet. I think in total there were five over the 10 meter climb.

The final climb that I did was a finger crack. It started with a beautiful thin flake and then went into the crack system. There weren't any great foot options and I tried to get some type of edge on the crack mostly using just friction. At the crux before an easier top out there was a shear smooth spot that went from fingers to a meter of fist crack with no feet. This was definitely a fun crack climb.

So that has been the last couple of days. I'm excited to be back and had tons of fun in the end. Also, I am announcing that I will be working on videos that show how to tie and use knots so that they can be on here for the Friday Knot for Thought. So hopefully I can start that for tomorrow's knot and if "knot" (not), I will have it for sure next friday. I hope that all of you are having climbing adventures of your own. Let me know what you have been up to. It would be great to know and share.

—Keep Climbing!—


Friday, June 27, 2014

Friday Knot for Thought — Clove Hitch

So with this recent talk about anchors and trad climbing I thought that this week's Friday Knot for Thought should be the Clove Hitch. 

If you watched the video on the three-point rope anchor, the person in the video was using this knot to secure the strands of rope. This knot is very secure, easy to tie and easy to adjust. A need to know knot for all climbers.

To the right is two ways to tie a clove hitch. The method on the bottom is what climbers want to use since on multi pitch routes we stay tied in.

Here is a link to a video that Climber magazine did on tying this knot.

Wednesday, June 25, 2014

The Basic Three-Point Anchor

Making a three-point anchor can be done in a couple different ways. As seen to the right, you can take a cordelette with a double fisherman's and clip it through three points to create an equalized anchor.

To finish the anchor you can tie a simple over hand knot but a figure eight on a bight is the best.


There is another way to tie a three-point anchor that I found while watching YouTube videos. While on lead on a multi pitch route you can use the climbing rope for the anchor.

Here is the video link: Rope 3-point Anchor

With either style of anchor you can simply use the ATC guide in guide mode so you can belay the person from the anchor. Or you can tie a redirect, which is shown in the second half of the video, if you want to belay off of your harness.

Tuesday, June 24, 2014

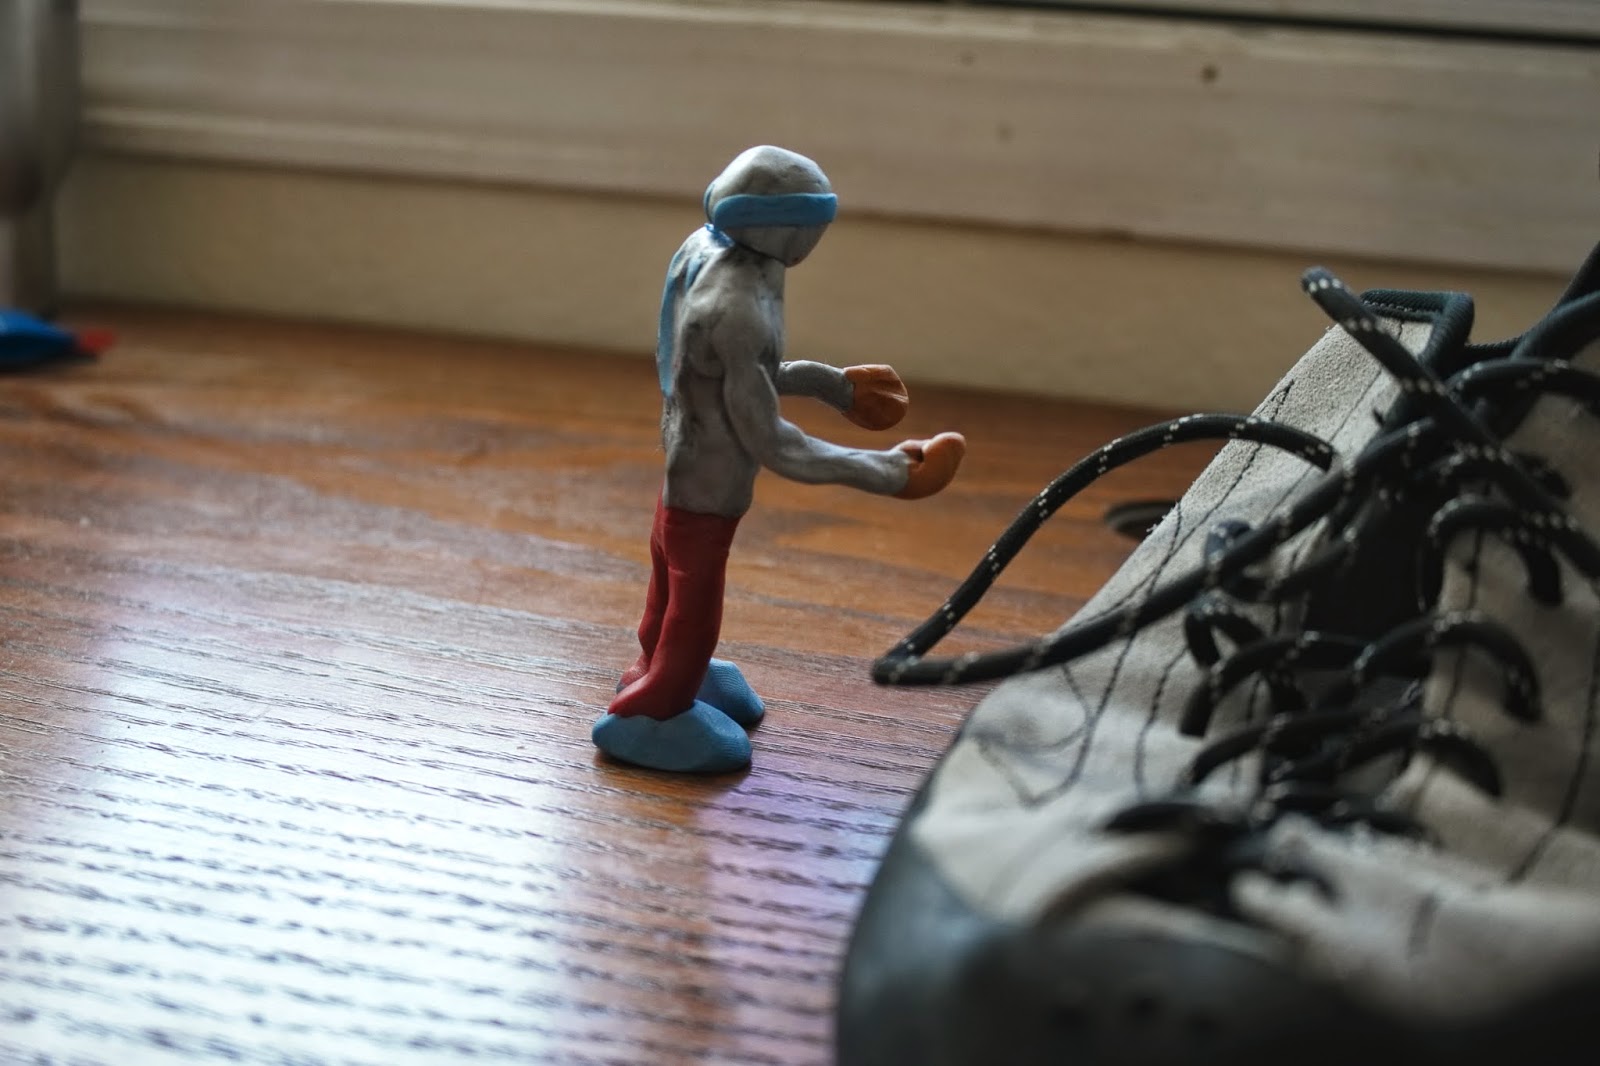
Claymation Short Film

This is a video that I put together yesterday cause I had some free time and I love my Mad Rock Phoenix climbing shoes. So I hope that you enjoy. Follow the link to watch the video.
Mad Rock Phoenix Claymation


Monday, June 23, 2014

Big Rock Lake Perris Climb

On Thursday I got the chance to go climb outside and my mom decided that she would like to go to Lake Perris where we had gone once before. I was eager to test my new Mad Rock Phoenix climbing shoes and this would be a good place for that.

Big Rock is a large wall of granite that is a couple degrees off vertical. It is all slab climbing and you pretty much just rely on friction to keep you on the rock.

So I got there and threw my shoes on. I was so happy with how sticky they were. It almost felt like I was spiderman. Just traversing to where I thought was a good place to climb was fun and I wanted to get on the rock.

One thing about this sport climbing is that the easier routes are super run out and the harder routes have bolts on each side of really hard parts. Well I decided to go up this one route that seemed pretty easy; a pure on-sight attempt. This route had a couple of bolts in the first 30ft, 10 meters, so I thought it would be a good idea.

I started up the route and quickly get up to the first bolt about 15ft, 5 meters, up the route and I was feeling okay. But right after that bolt the next couple meters to the second bolt was vertical and smooth. I had no hand placements and just friction as my friend.

Each step was crazy and I should have gone faster thinking back but my friend friction let me down. My feet separated from the rock and there was no recovering from it. Everything slowly sped up until I finally processed that I was falling. I watched the first bolt go by hoping that I would stop soon. What seemed like a minute later I finally stopped as I saw my mom right by my feet with the rope locked off.

I had fallen nearly 26 ft. And was a meter above the deck when I came to rest. Unfortunately I landed badly on my right ankle and tweaked it; later that day I was barely able to walk on it. I wasn't in a shape to climb the rest of the day so I went over to a couple boulders and messed around before leaving the crag.

Before I left, I figured out the problem that had occurred from the start. The original line that I wanted to climb was to the right of the one that I did climb. They both had two bolts low on the climb but one was easier.

So the moral of this story is to make sure that you climb the route you plan on climbing. I didm't think and started up what was in front of me.